How to whiten your teeth at home
At home teeth whitening is a quick and easy way to achieve a whiter, brighter small at a fraction of the cost of in chair whitening. When done correctly, the process can be effective, inexpensive to maintain and simple to do.
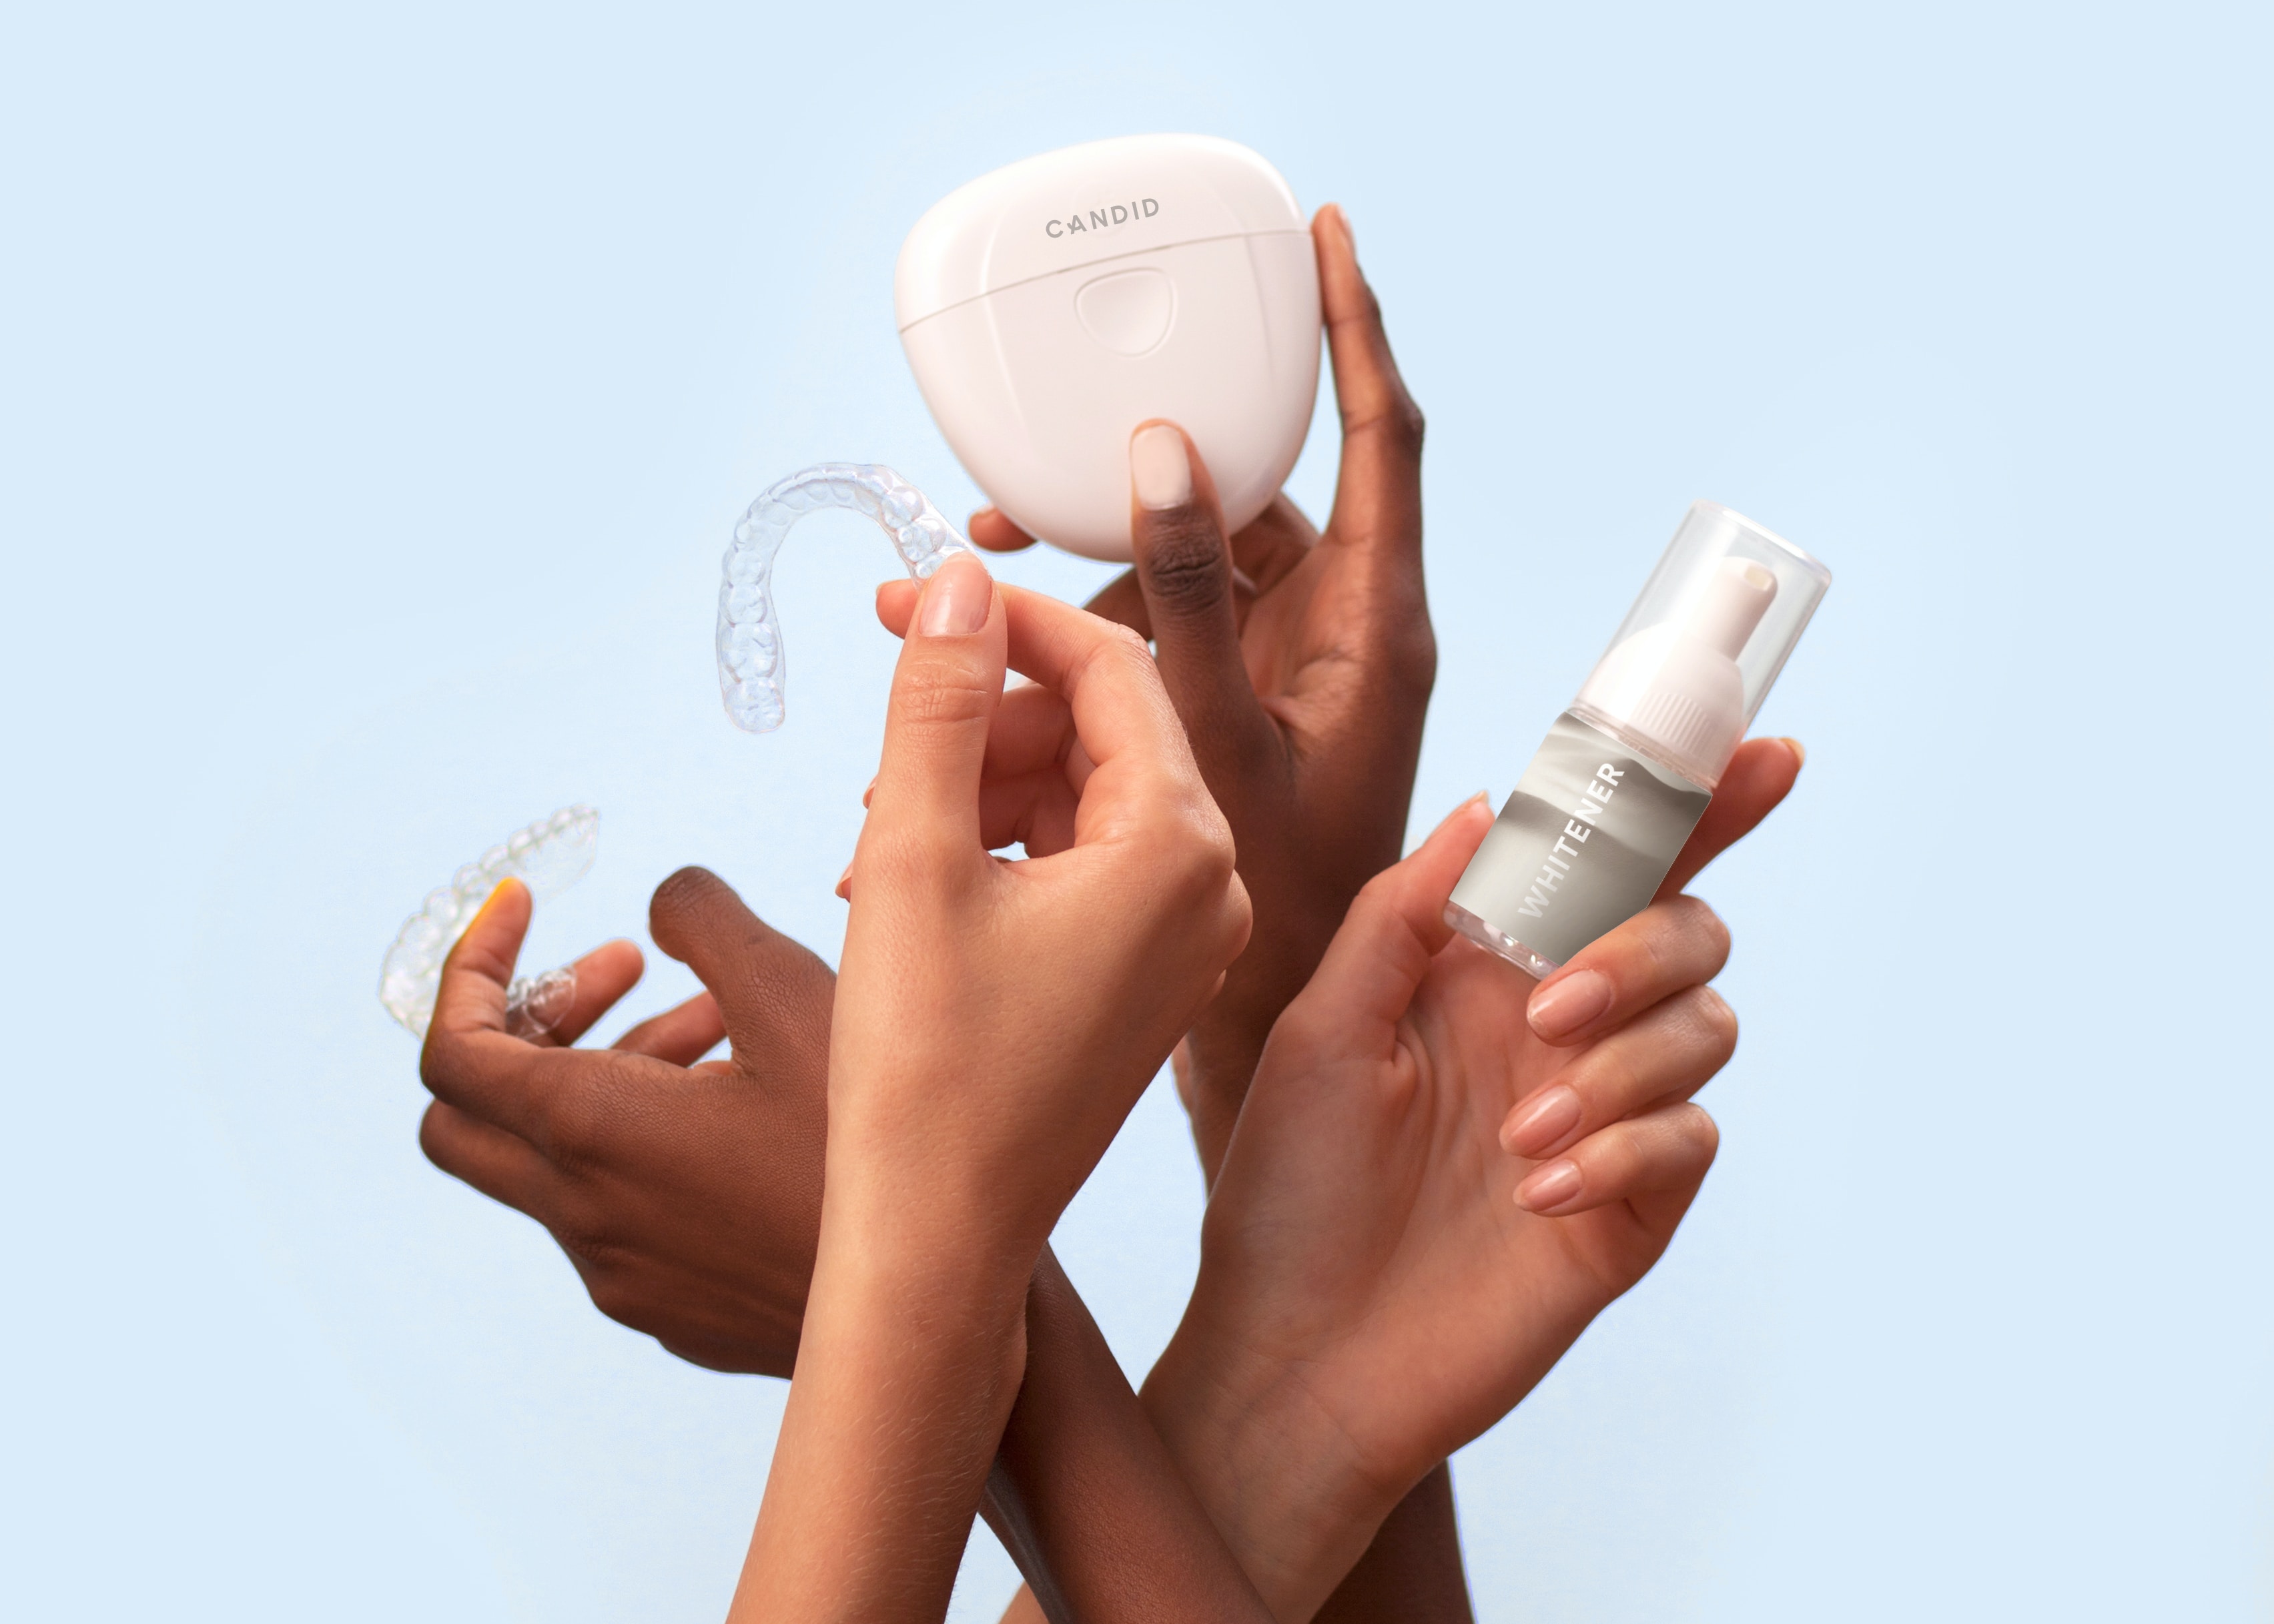
We recommend seeing your dentist (our Claremont dentists would be more than happy to discuss this too), to have home whitening trays made. These trays enable you to place whitening gel safely on your teeth so the gel can be most effective whilst minimising any trauma to your gums. It’s important to have custom made trays that fit your teeth perfectly to avoid getting gel onto your gums which can cause a painful burn.
Once made, your dentist can check your trays fit correctly and show you how to use them. It is then a matter of cleaning your teeth, applying a small dot of gel into the trays and leaving them in for the recommended time. Most at home whitening gels are recommended for use for approximately 2 weeks to achieve optimum results. Again, we do recommend you purchase whitening gel sold by a dental practice only, as they are able to sell the highest and safest concentration of gel. This means you are purchasing and using a product that has proven to be effective, but is still safe for at home use. Products sold online or by non-dental professionals must by law be of a lower concentration and are therefore less effective. To find out more general information about teeth whitening, take a read of this blog post.
Here’s a simple step-by-step method to follow for at home teeth whitening:
- Brush your teeth with sensitive toothpaste. You can also floss your teeth.
- Ensure you know how many teeth you want to whiten, place a small dot onto each front surface of the tray for the teeth you want to whiten. Check that gel has not gotten onto your gums. If there is any, wipe away with a cotton bud or tissue.
- Leave the trays in for the recommended time (varies according to the product, so check the packaging or instructions provided).
- Remove the trays, rinse your mouth and the trays.
- Store your whitening gel in a dark, cold place. The bathroom cupboard is ideal.
- Continue using sensitive toothpaste as your usual toothpaste to counteract any sensitivity.
- Repeat this process for up to 14 days or until you have achieved your desired tooth colour.
- Contact your dentist should you have any concerns.
- You can repeat the whitening process as necessary to maintain the shade of your teeth. If you run out of gel, it is inexpensive to purchase extra gel tubes from your dentist.
Here’s a simple instructional video to show you the steps in at home teeth whitening:
Do you have more questions? Contact our friendly Claremont dental team on 6143 5655. You can also book online anytime using this link.